Photoshop: dye hair - so it'll work
Related Videos: How to Change Eye Color in Photoshop (May 2024).
Hair can be easily dyed in Photoshop - even in older versions. The following tips show you an easy way. You first color the whole image and then determine with a layer mask where the color should be seen. In our gallery you will find illustrated instructions.
Color hair with "hue / saturation" and layer mask in Photoshop
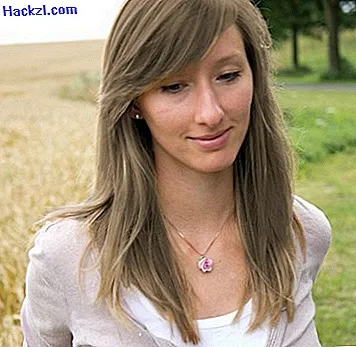
Find the image you want to edit. It is best to use a picture with relatively straight hair.
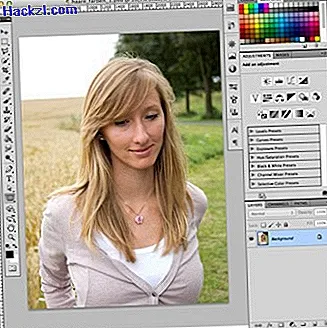
- Open the image in Photoshop ("File - Open"). Usually you now have a layer in the layer control at the bottom right: the background layer. If you don't see the layer control, you can open it in the menu under "Window - Layers".
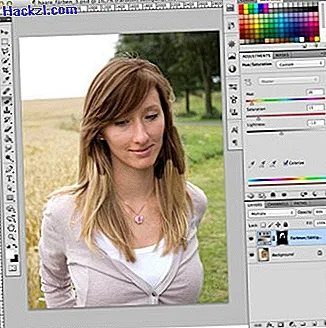
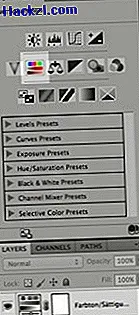
- Color the entire image with the "Hue / Saturation" correction layer. You will find them on the right above the level control under the "Corrections" tab. You can set the desired hair color using the "Hue" slider. Don't bother about the whole picture changing color.
- Now limit the color effect to the hair: Click on the layer mask of your correction layer (white field on the layer "Hue / Saturation"). The layer mask works like a template and determines where some of the effect should be seen. In the next step, make them completely black so that the effect is no longer visible.
- To do this, choose the paint bucket. It is hidden in the toolbar on the left under the history tool. Press and hold the Gradient Tool to expand a menu and display the paint bucket. Then select the colors black and white in the color fields on the bottom left of the toolbar.
- Now click exactly on the white field of the "Hue / Saturation" layer to select the layer mask. Then click with the paint bucket and the black paint in the middle of the picture. The color effect should disappear and the layer mask is black. If instead the entire image goes black, you clicked when you selected the layer mask.
- Now turn the tables and paint the areas of the layer mask that are over the hair in your picture. To do this, take a brush (left in the toolbar) and choose white as the foreground color. Set the brush to a size that you can work with comfortably. Then select the "Hue / Saturation" layer mask again.
- Now you can "brush" the color effect on the picture by painting over the hair of the person in the picture in white. The color effect of your correction level appears again underneath. On the right in the layer mask, the areas that have been cleared are now visible as white areas. If you have painted yourself, that's no problem: just paint over it again with black and cover up the correction level.
- If the effect is too strong for you, simply reduce the opacity of the correction layer or try another blending method in the layer control - eg "Soft light" or "Multiply".
If you have a very old version of Photoshop that does not yet have any correction layers, you can also edit the hue and saturation under "Image - Settings". However, you should duplicate the background layer, because the effect cannot be changed afterwards. You then create a layer mask for a normal layer with the "washing machine symbol" (circle in the rectangle) in the layer control. Everything else works as described above. Of course, professionals can also use other selection methods to edit a layer mask.
You can find an alternative solution to dye hair in the Practical tip Color replacement in Photoshop.
Latest videos
The original image has one level and is still unprocessed.
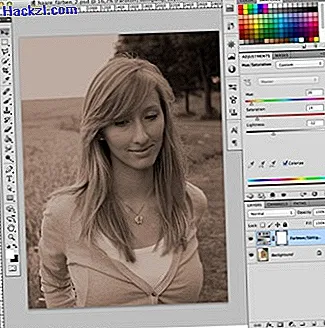
Use the Adjustments panel to add Hue / Saturation as a new layer. Use it to set the hair color.
Do not bother yourself when adjusting that everything changes color. You can change that in the next step.
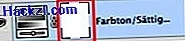
Select the paint bucket and the color black from the toolbar. The paint bucket is hidden under the gradient tool, a long click makes it appear.

Now click on the layer mask and then with the paint bucket in the middle of the picture. The color change should disappear immediately.
Now you can brush the hair on the picture with a white brush. Make sure that the layer mask is selected. You have already given your model a new hair color.